I took up blender for creating DnD minifigs
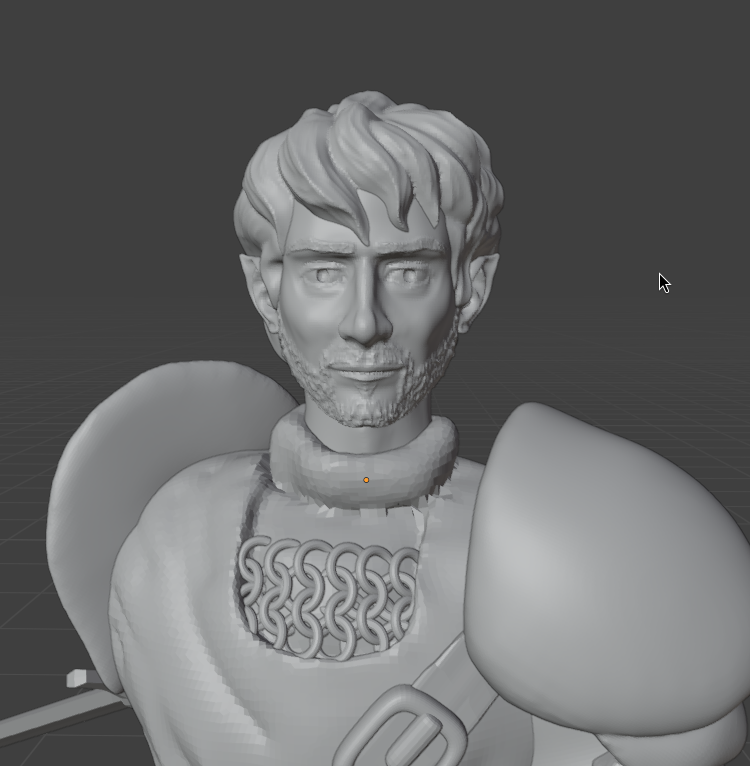
I named him Claude Mitt-Llanfair because he's half-elf, and I got inspiration from Tolkien using welsh phonetics for elven words. I then just added something german sounding on top to get that "human" side of the name. It's kinda silly, I'm not good with names
The title summarizes it very well, however I'll just add a few pictures and extra details.
I started playing DnD last year. My first campaign which I'm still currently playing, revolves around this one particular hand of evil McGuffin that we found and that we must take somewhere safe before the dark elves get to it. My player character is Claude Mitt-Llanfair, a half-elf noble from the town of Farandell.
Now, my interest in 3D modelling came about when one of the other players purchased himself a resin printer and started printing a lot of props and NPCs that he downloaded from the internet. When I first saw the prints I was amazed at the detail and quality. I was used to seeing the lines from the filaments on the FDM printers that gave the models a bit of a rough finish; but when I saw the detail of a chainmail on such a small mini-fig I knew there was a lot of potential.
I was already familiar with blender from when I was in highschool. Back then I wanted to create my own videogames, so I set my mind on learning blender. I made a couple of bad games on the blender game engine, none of which could be played outside that specific software. However, I learned the basics of 3D modeling and got the gist of polygon and topology manipulation.
The second thing that came in handy during this project was my obsession with drawing, which took root in me at a very early age and has persisted to this day. Back in kinder-garden I used to draw dinosaurs, now I mainly draw DnD characters. This, I believe, gave me the necessary knowledge on proportion, human figure and volume that I needed to be able to create these models.
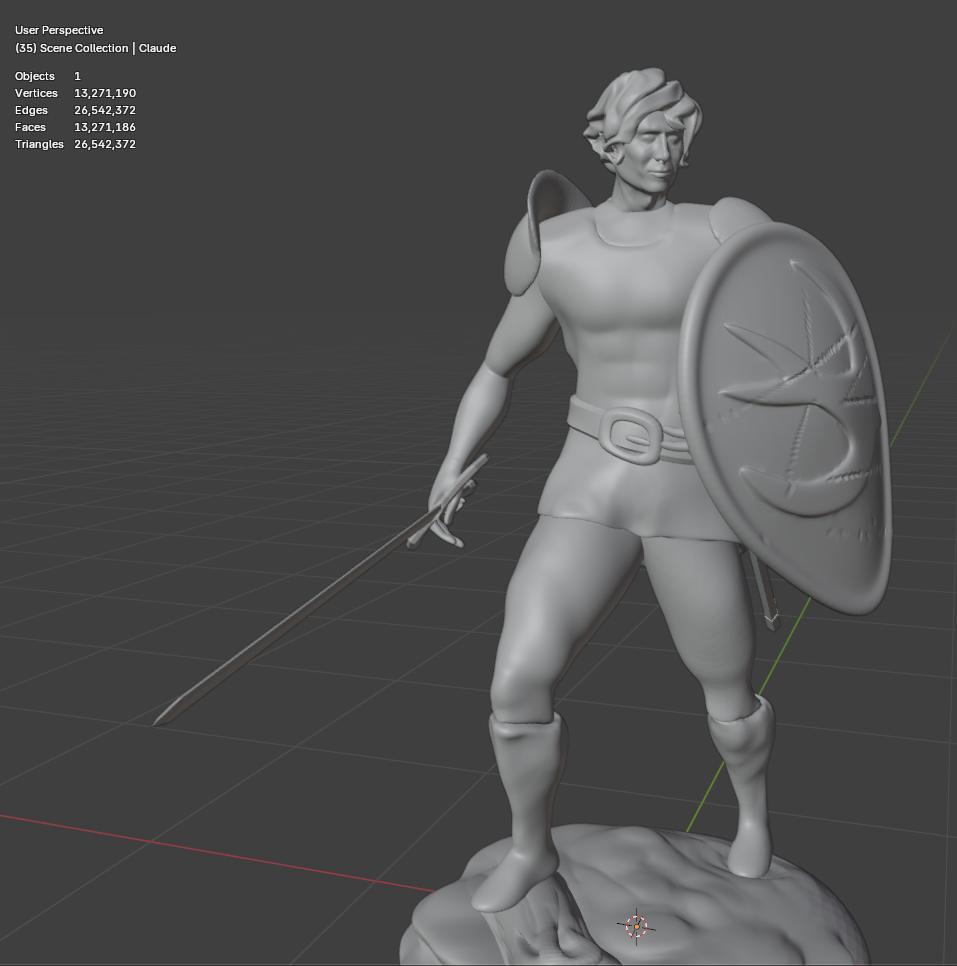
Face-count: 13,000,000
File-size: 2 GB
It took a couple of seconds for my pc to load it.
So far I've created 4 models. The first one was my player character, of course. I had a bit of trouble figuring out the whole sculpting thing, but I had some success, which motivated to move forward with this proyect. I was initially very surprised with the face, for it was turning out really good, then I messed up the hair.
The problem with my first model is that I kept adding details that were definitely not going to be visible on the final print due to the scale. Which resulted in a very large file-size and a huge face-count. This was mostly due to the fact that I kept sculpting without doing much re-meshing. One is supposed to re-mesh every so often to fix or avoid topology problems. Then, you start decreasing the voxel size.
Upon finishing this model, I sent it to my friend (at 4 am in the morning), and he immediately sent it to the printer (he was playing videogames). The following day I had the honour of laying eyes upon my very first creation.
To be honest, I was surprised this thing was even able to be printed.
It is a bit of a cool and surreal experience, to hold in your hands for the first time something that you designed.
Now, my word of advice to any newbies that would like to get into 3D modelling. Here's what I learned from this whole process:
- When sculpting mini-figures, one must consider that these will be printed
- Details are often lost on small scales.
- Thin objects such as swords or arms migt need more material, as they might turn out too thin and flimsy on the final product.
- The more voxels you have, the bigger the file becomes.
- "Floating" structures must be avoided if possible, for they will need supports when printing.
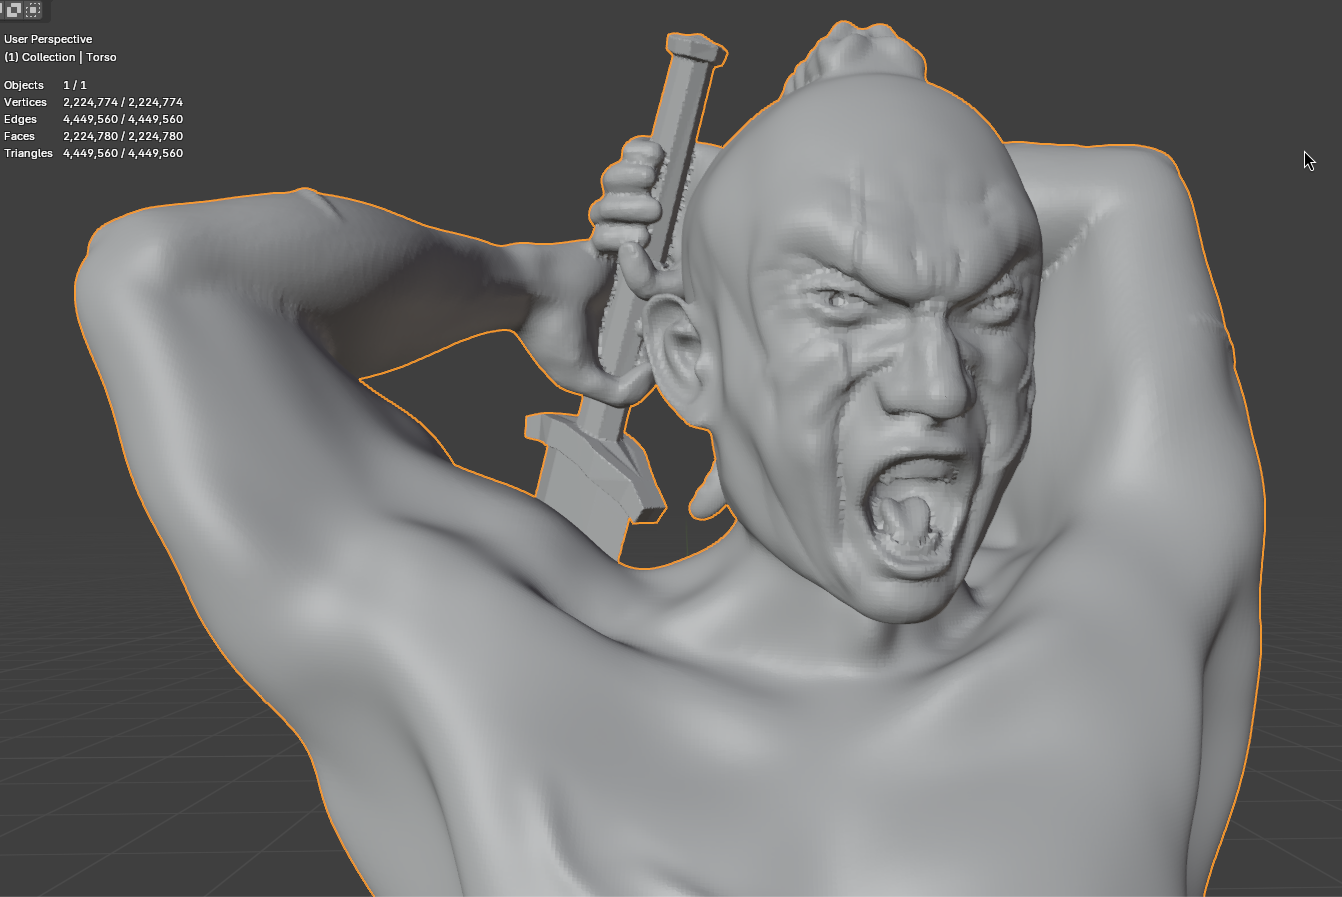
The second Figure
← Previous entry | Next entry →